Stream Deck Soundboard Plugin
for Sound Show Pro
Turn your Stream Deck into an advanced live soundboard !
With this Stream Deck plugin, every key, dial, and touch strip becomes a one-tap command that keeps your show sounding tight and professional.
Available exclusively in Sound Show Pro. Upgrade from the free edition to unlock Stream Deck control.
Quick-Start Installation
-
In Sound Show → Options ► Services ► Stream Deck
Click Install Plugin and follow the prompts. -
Launch Stream Deck Software → Look for the new Sound Show action group.
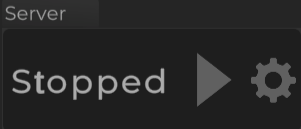
- Start the Sound Show Server → View ► Views ► Server then hit the Play ▶️ icon.
Tip: enable AutoStart (Options ► Services ► Server ► Autostart) so it runs every time Sound Show launches.
Adding buttons to your Stream Deck
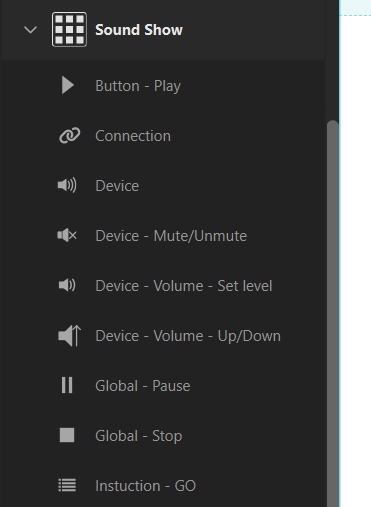
Connection Button

This will show a Sound Show icon that servers as a connection indicator:
the icon will be greyed when the Stream Deck plugin is not connected and it will be colored when connected
You can also use it to configure the connection parameters: IP, port, password
If you use the default parameters in Sound Show there is no need to change those.
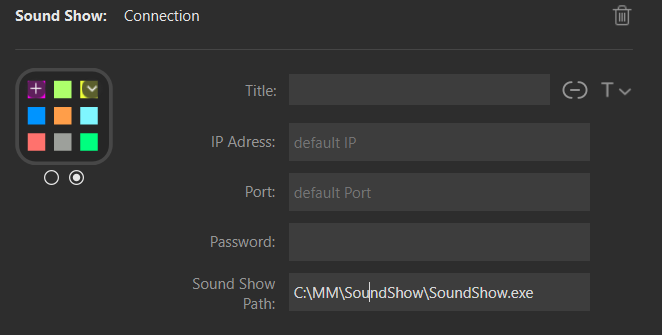
You can also set the path to the Sound Show program. If you do this, pressing this button while not connected, will make it start Sound Show and start the server.
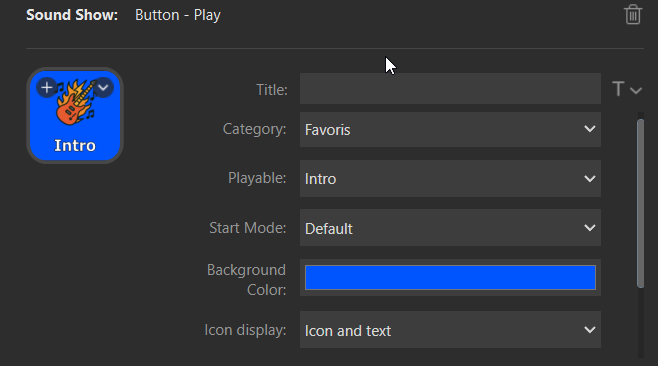
Play Button

This button allow to play an item of the Sound Board
You can set an item by selecting a category, then the item.
Global Stop and Pause
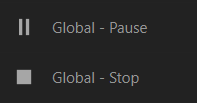
- Pause allows you to Resume / Pause all the items
- Stop allows you to Stop / Fade out all items
Both buttons have the following settings:
- Fade duration parameter (for the stop button it will change the stop icon to a fade icon if the fade duration > 0)
- Filter parameter: All, sounds only, visuals only
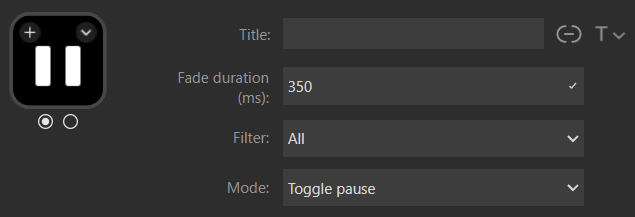
You can also configure the pause in different modes: Toggle pause / Pause / Resume
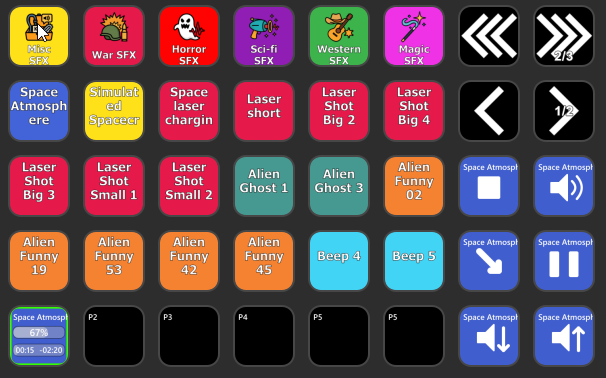
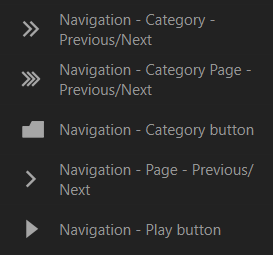
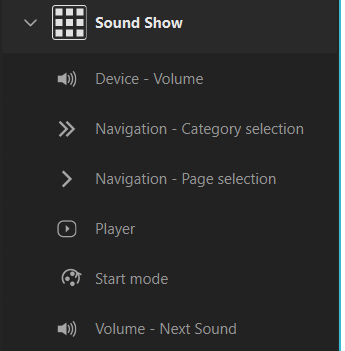
Navigation
Multiple buttons will allow you to transform your Stream Deck into an interface similar to Sound Show: Allow you to navigate categories and sound inside those categories.
Those buttons are prefixed by "Navigation"
Here is an example of configuration using those items for my android tablet running Stream Deck Mobile app: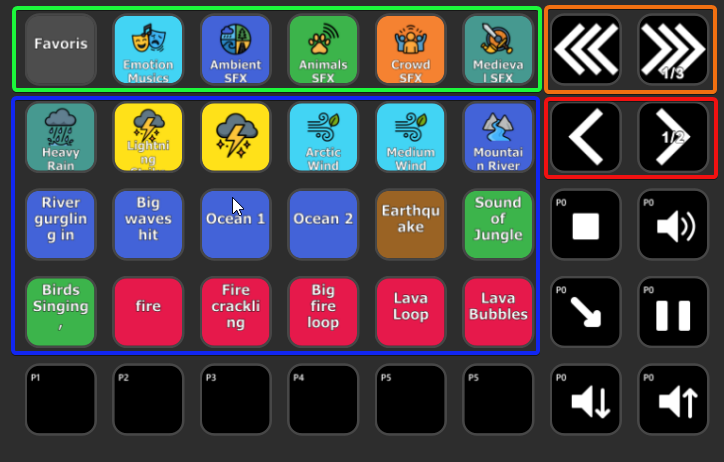
I drawed rectangles in the screen shot to better explain :
Green: Categories - clicking them will change the currently selected category and so the item in the blue rectangle will change
Blue: Playables button - clicking will start the sounds/video/... in Sound Show
Orange: Category page navigation - this will change the categories shown in the green rectangle
Red: Page navigation - this will change the playables shown in the blue rectangle
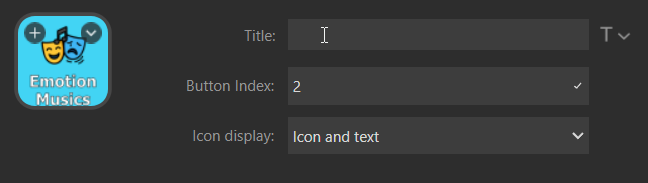
On the Category and Pay button items, you will have to set an index
On the Category Page and Page buttons you will have to configure the number of items to show. So that the plugins know when to cycle through pages.

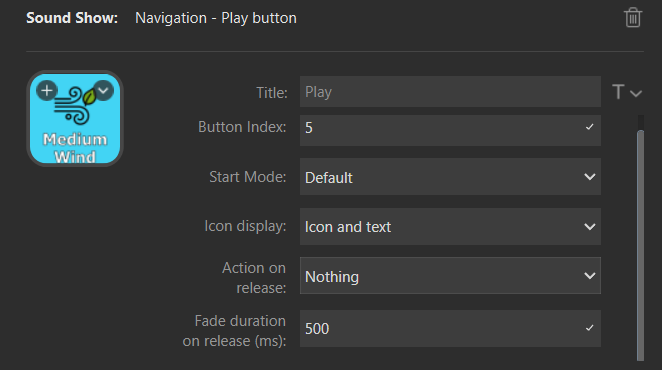
On the Play Button, there is a few more settings. You can force a start mode (crossfade, fade-in) and you can set it to stop when releasing the button.
Players
You can set buttons to see the different players state and control them.
They are prefixed by "Player - " in the list:
Here are is a configuration showing multiple players:
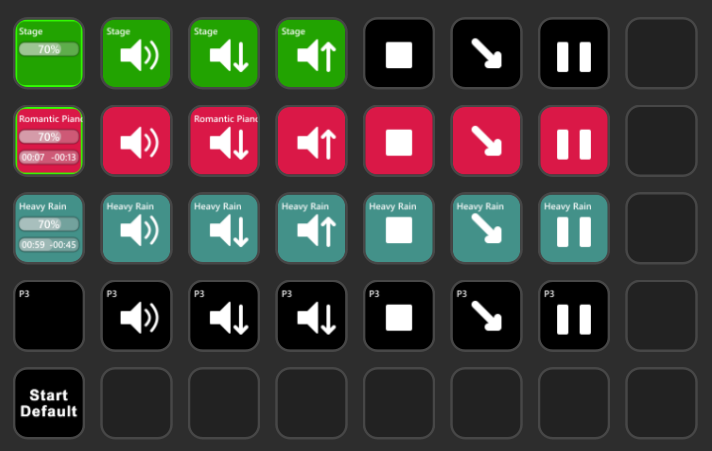
Row 2, row 3 and row 4 allows each to control a different player: P1, P2 and P3
Currently there is only 2 sounds playing at the same time so only two rows have content.
The first button of the row show some info: volume and position in the sound (elapsed time and remaining time).
The next buttons allows to: Mute, volume down, volume up, stop, fade out, pause
To configure each of those buttons you will have to set the player index, so that the player knows what to show. First index is 1 you can go up to 10.
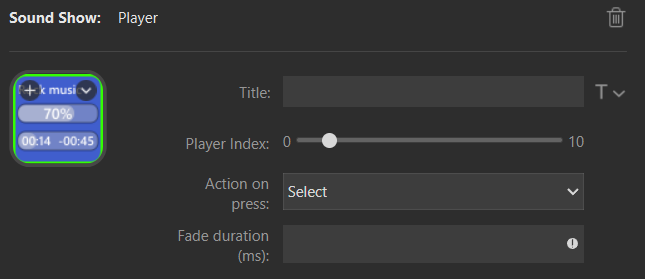
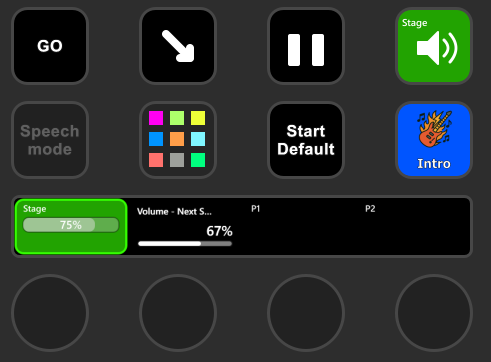
Player Selection
You can also set the buttons to show the currently selected player.
To do that you will put index 0 as player index.
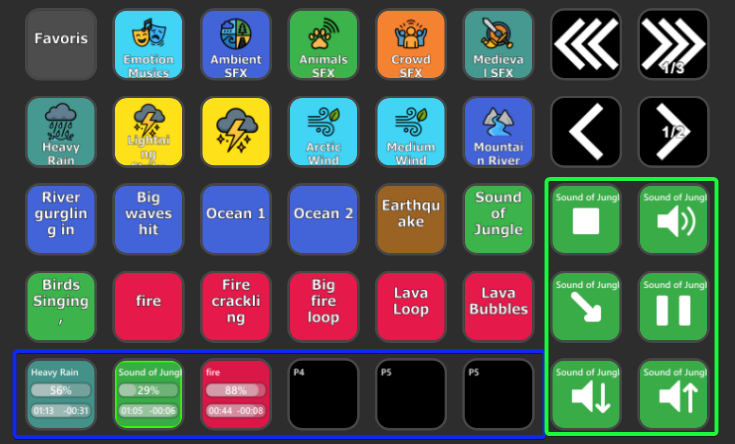
For example here, the buttons on the right (in the green border) allow to control the currently selected player. Their player index is 0.
The buttons on the bottom in the blue border, show the players state and allows to select the player by pressing them. They have player index from 1 to 5 and action on press is "Select".
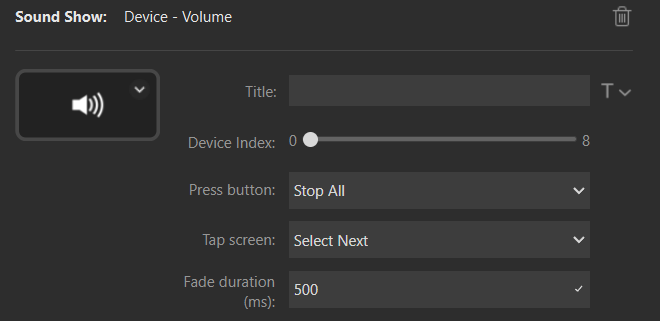
Devices
There is also buttons to control the audio outputs.
They are prefixed by "Device -"
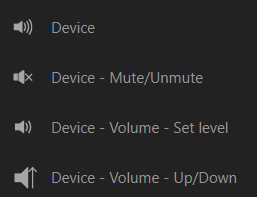
Set the device index of the device you want to see/control, from 1 to 8
If you set 0 as device index, it will control show the currently selected device.
Other buttons
There are various other buttons:
Playlist - Play next: play next item of the playlist
Playlist - Toggle auto play: enable/disable autoplay
Start mode: change the start mode of the play buttons (when they are set to default): could be crossfade, fade-in, normal
Volume - Speech mode: when pressed the volume of the first device, will go down to the low volume defined. On release it will go back to its previous value.
Instruction - GO: Press the go button to play the next instruction, if the go button is enabled the text is green and the name of the instruction is diplayed
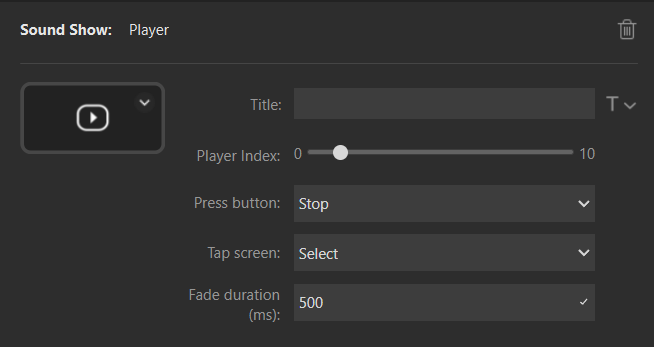
Dials (Stream Deck +)
For the Stream Deck +, you can also set items to the dials.
The way they work is quite similar to the buttons and they make use of the rotative dials, the press on the button and the tap on the screen.
For the device and player, you can set the index (or 0 to show the selected one).
You can select action when tapping the screen or pressing the dial.
Here is an example of configuration:
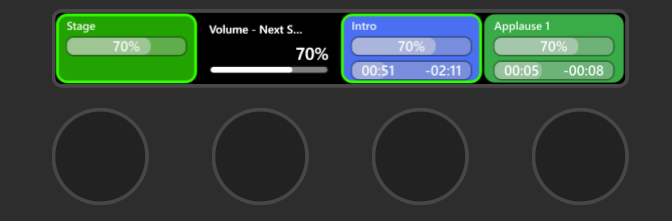
1: Device set to the currently selected. Tapping on the screen would change the selected one (between stage and headset). Pressing the button would fade all sounds in 0.5s
2: Volume of the next sound
3-4: Player 1 and 2 with sounds currently playing. Pressing the button will fade out that specific sound.